Updating Drive Firmware
Updating Drive Firmware - Information
There are two different types of firmware that can be upgraded:
IO - .iofw
Power - .upgx
Each type of firmware can be upgraded or downgraded through the PC tool OptiTools Pro.
To update the drive firmware the following conditions must be met:
The Drive must be powered from an AC power supply.
The Drive must be connected to OptiTools Pro via the RJ45 port, shown in the image below
The Drive must be discovered in OptiTools Pro
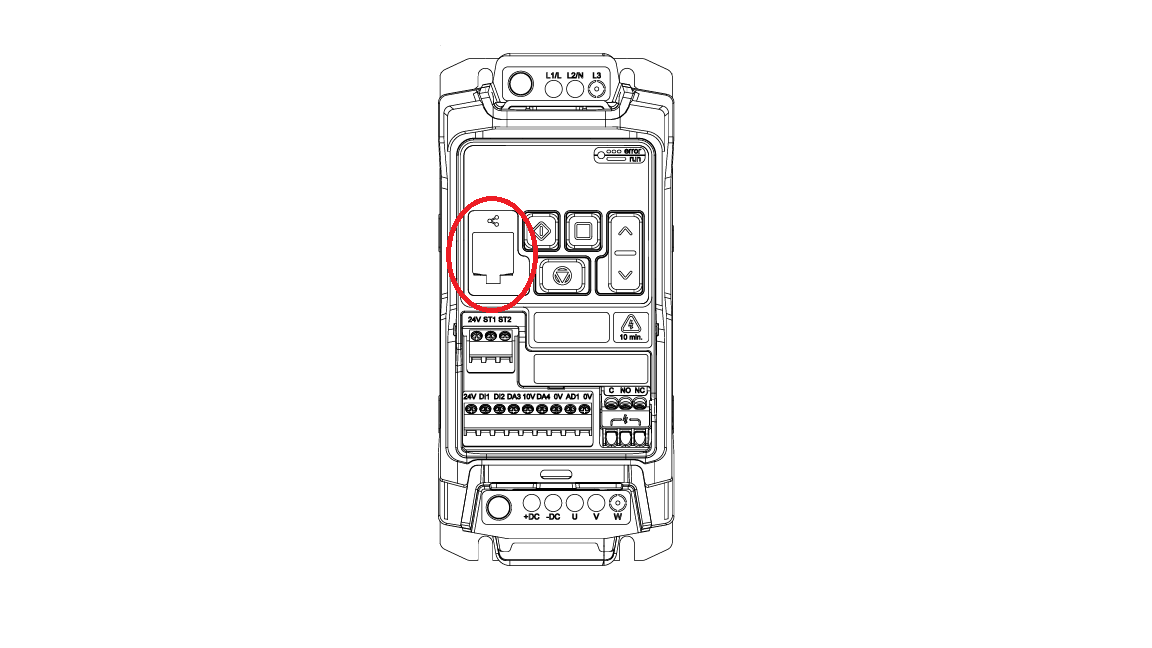
As mentioned in the conditions above the image shows the available ports to connect to OptiTools Pro.
Follow the steps to update the drive firmware manually via OptiTools Pro.
Make sure all the conditions are fulfilled in the section 'Updating Drive Firmware Conditions'.
Make sure OptiTools Pro is Online. This can be done by clicking the Go Online button under the connected drive.
Note
This button may also say Reconnect if the drive was previously connected but connection was lost.
Figure 2. Go Online button location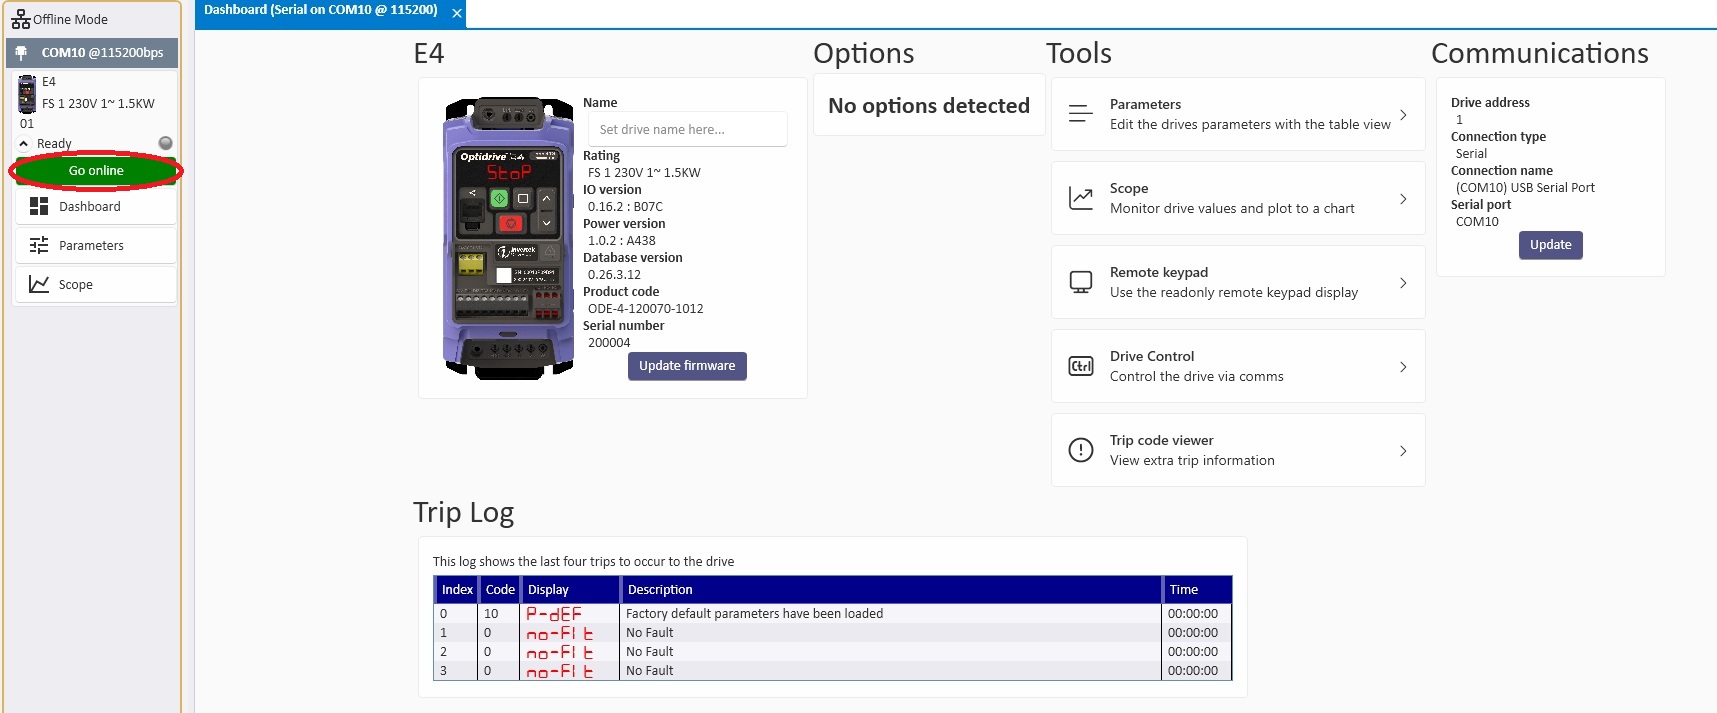
Once the drive is online click the Update firmware button below the drive information, as shown in the image below.
Figure 3. Update button location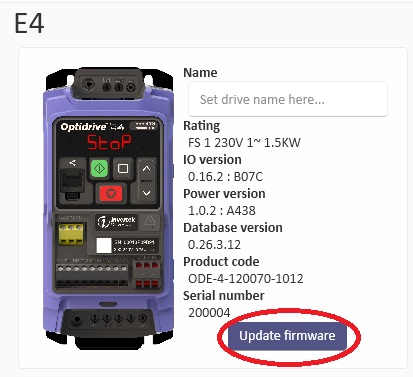
After clicking the Update firmware button, a pop-up window will appear with the option to choose a manual or automatic upgrade. Select an upgrade type and click Next.
Note
Currently only Manual updates are supported.
Figure 4. Update type selection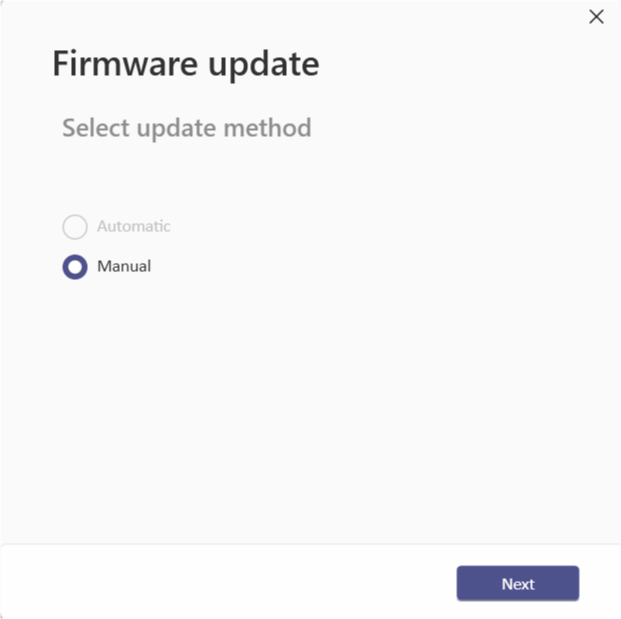
Once you have selected a firmware upgrade method, the next step is to select the firmware to be upgraded. To do this, click on the folder icon (circled) next to the type of firmware update you wish to do.
After clicking on a folder, a pop-up file explorer window will open, locate and select the relevant update files. Once selected the window will look like the image below.
Figure 5. Firmware selection for each update type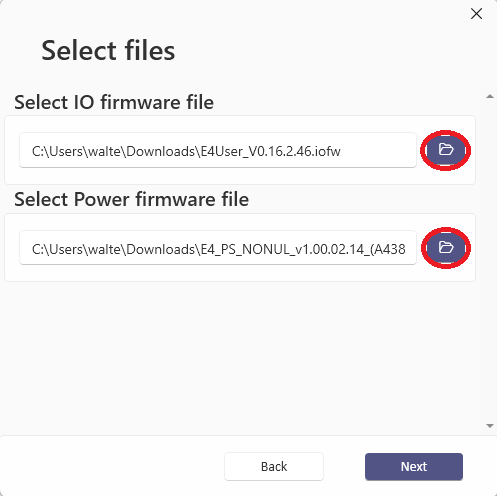
When you have selected the files to update, click Next and you will be shown a summary of the firmware changes. Once you have confirmed the versions are correct, click Next to start the update.
Figure 6. Update version changes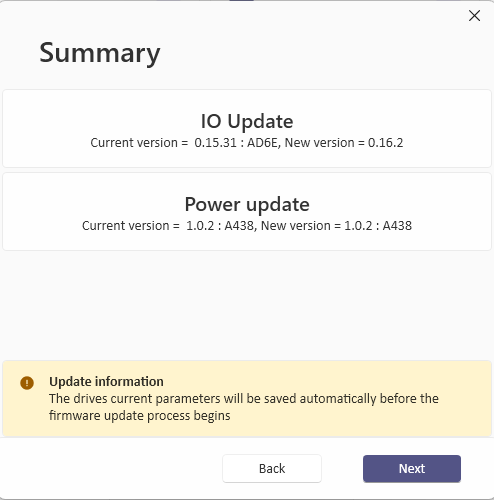
While the update is in progress, OptiTools Pro will show a progress bar across the screen for each update type.
Figure 7. Update in progress screen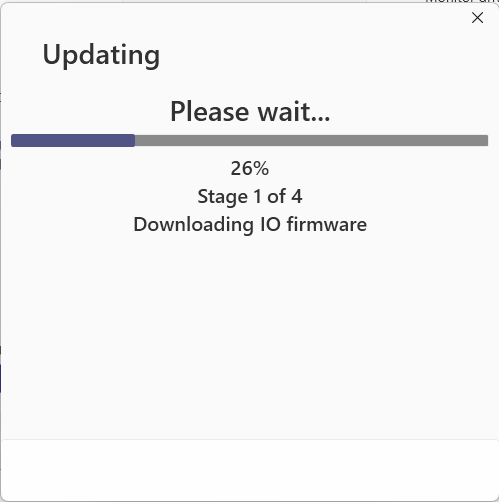
Once the Update has finished, you will see a screen showing if the update has been successful. Click Finish to return to the Dashboard and complete the upgrade process.
Figure 8. Update finished screen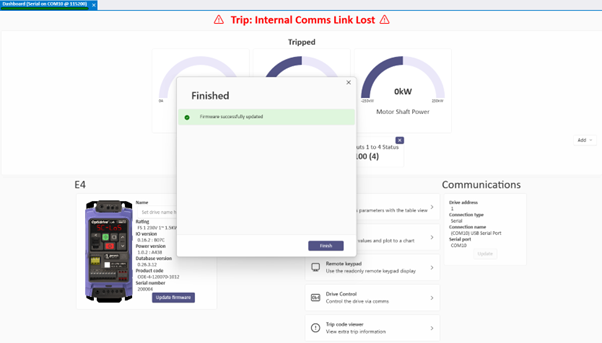
Note
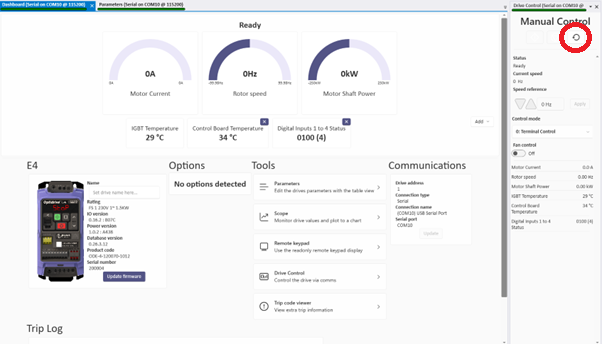
To reset the drive after programming, either press the reset button on the drive, or using OptiTools, press the reset button on the left of the screen. (Circled below)